 The Runner Story
Introduction
Testing running shoes at home has become an essential skill for runners in 2026 who want independent verification of their gear's condition. Whether you are preparing for a marathon, trail event, or daily training, understanding how your shoes perform under real conditions helps prevent injuries and optimize your investment. This comprehensive guide walks through practical, repeatable tests using only household items to evaluate cushioning wear, outsole traction, and upper stability. By following these methods, you can make informed decisions about when to replace shoes and how they compare to professional lab evaluations.
Many runners rely solely on mileage counters or visible wear, but these often miss subtle performance drops. Home testing provides objective data that complements subjective feel. The following sections detail required materials, exact procedures, result interpretation, side-by-side lab comparisons, real-world case studies, and tips for extending shoe lifespan. Each test includes step-by-step instructions, common pitfalls, and example outcomes drawn from everyday runners.
Essential Household Materials and Setup
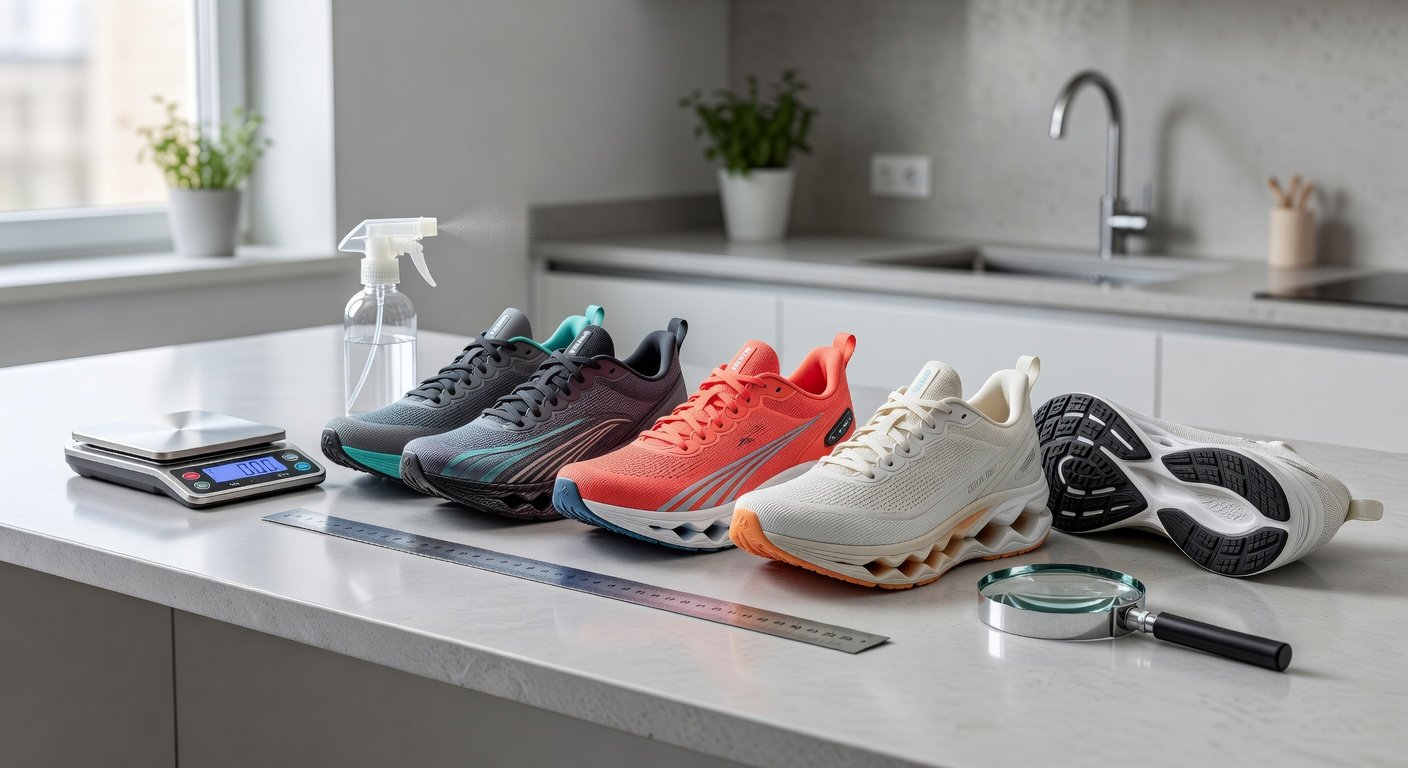
Successful home testing starts with gathering accessible items that simulate lab conditions. You will need a bathroom scale for precise weight application, a metal ruler or measuring tape accurate to one millimeter, a magnifying glass for surface inspection, a spray bottle filled with water, medium-grit sandpaper, several heavy books totaling at least ten kilograms, a stopwatch or phone timer, a notebook for logging data, and access to a flat indoor floor or treadmill. Optional additions include a digital camera for before-and-after photos and a small weight such as a dumbbell for drop tests.
Prepare your testing area by clearing a two-meter square space and ensuring good lighting. Perform tests at room temperature to avoid material changes from heat or cold. Record baseline measurements on new or current shoes before any wear simulation. This systematic approach ensures consistency across multiple pairs and allows tracking changes over weeks or months.
Testing Cushioning Wear in Detail
Cushioning degradation is the most common reason shoes lose performance. Begin by measuring the midsole stack height at the heel and forefoot while the shoe is unloaded. Apply your full body weight using the scale and re-measure after holding for thirty seconds. A compression of more than three millimeters indicates advanced breakdown. Next, conduct a rebound test by dropping a 500-gram weight from thirty centimeters onto the heel cushion and timing the bounce height with your stopwatch. Healthy shoes rebound above fifteen centimeters; lower values suggest lost energy return.
For dynamic simulation, place the shoe on the floor and perform fifty controlled steps in place while wearing it, then repeat measurements. Compare results to a reference shoe known to be in good condition. Runners with heavier strides should increase repetitions to seventy-five for realistic data. Interpretation tip: if cushioning loss exceeds twenty percent from baseline, plan replacement within the next one hundred kilometers of running.
Evaluating Outsole Traction and Grip
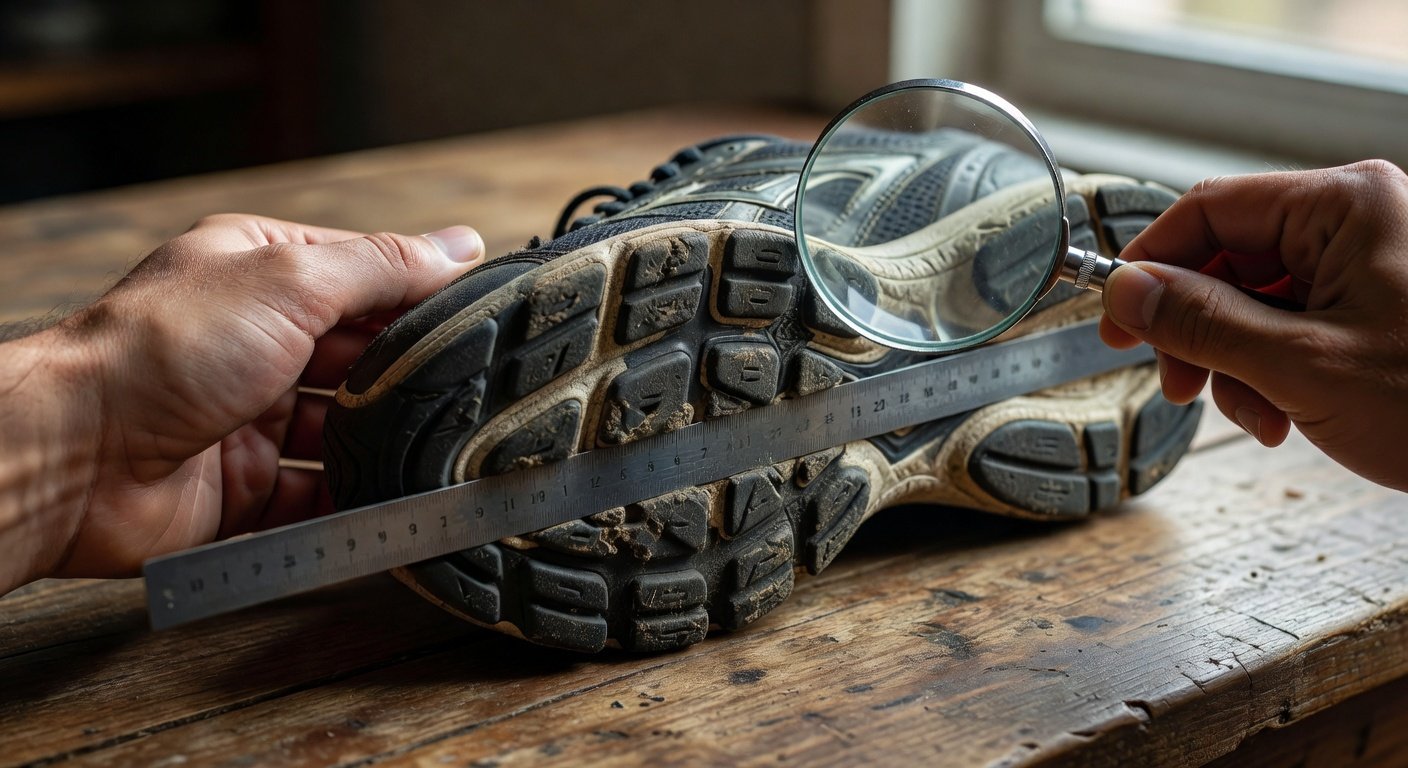
Outsole performance affects safety on varied surfaces. Start with a dry-floor lateral shuffle test: wear the shoes and attempt quick side-to-side movements over one meter. Note any slipping or lack of immediate grip. Repeat after lightly misting the floor with water from the spray bottle to simulate rain. For abrasion resistance, rub a small section of sandpaper across the lugs ten times and inspect depth loss with the magnifying glass and ruler. Tread remaining under three millimeters typically reduces wet traction noticeably.
Advanced home testers can create a gentle incline using stacked books and test uphill and downhill walking stability. Consistent slipping on inclines signals the need for shoes with more aggressive lugs. These tests correlate well with real-road conditions and help identify pairs better suited for road versus light trail use.
Assessing Upper Stability and Fit Integrity
The upper mesh and structure maintain foot lockdown during runs. Flex the shoe repeatedly at the ball-of-foot area twenty times while watching for excessive creasing or separation. Secure the heel counter and twist the forefoot gently to check torsional rigidity; minimal give is ideal for stability. Examine eyelet rows and lacing zones for stretching by tightening laces fully and noting any distortion after ten minutes.
Runners with wide feet should pay special attention to side-wall bulging under load. If the upper allows more than five millimeters of lateral movement during a simulated stride, support has likely diminished. Document any hot spots or pressure points felt during these checks, as they predict blister risk on longer runs.
Side-by-Side Comparisons to Laboratory Methods
Professional labs employ force plates, durometers, and wear simulators that deliver precise numerical outputs. Home tests approximate these results with reasonable accuracy for everyday decision-making. For instance, the compression test mirrors durometer readings, while the water spray method replicates coefficient-of-friction measurements. Sources such as Runners World regularly publish lab-derived benchmarks that home testers can reference for context. When discrepancies appear, home data still reliably flags shoes needing retirement. Combining both approaches—periodic lab visits alongside monthly home checks—offers the most complete picture.
Real Runner Case Studies and Practical Examples
Case Study One: A 45-year-old road runner logged 450 kilometers on a pair before home compression testing revealed a four-millimeter drop in heel stack height. After noting reduced rebound in the drop test, she rotated in a fresh pair and avoided the knee pain she had experienced in previous cycles. Case Study Two: An ultra-trail runner used sandpaper and water tests on three candidate shoes, selecting the pair with minimal slip on the misted floor. This choice proved critical during a rainy 80-kilometer event. Case Study Three: A beginner testing stability discovered upper stretch after only 150 kilometers, prompting earlier replacement and preventing ankle rolling incidents reported in earlier shoes.
These examples illustrate how small measurement differences translate into meaningful safety and performance gains. Always cross-reference your logged data with subjective comfort during actual runs.
Mistakes to Avoid and How to Prolong Gear Lifespan
Common errors include testing on uneven surfaces, skipping baseline measurements, and ignoring temperature effects. Never use abrasive materials that permanently damage testable areas. To extend lifespan, rotate between two or more pairs, store shoes in cool dry locations away from direct sunlight, and clean mud or salt promptly with mild soap. Air drying at room temperature prevents material degradation. Regular rotation can add 20-30 percent more total kilometers according to experienced runners.
Frequently Asked Questions
- How frequently should I perform these tests? Conduct full assessments every 200-300 kilometers or monthly for high-volume runners.
- Do home tests replace professional gait analysis? They provide valuable supplementary data but cannot fully substitute motion-capture labs or podiatrist evaluations.
- What indicates immediate shoe retirement? Any upper tear, midsole compression over four millimeters, or consistent slipping during traction tests.
- Can I adapt tests for minimalist shoes? Reduce weight loads and focus primarily on upper integrity and outsole condition.
- Where can I find additional benchmarks? Review guidelines from American Academy of Orthopaedic Surgeons and injury-prevention resources at Mayo Clinic.
Conclusion
Home testing equips runners with reliable tools to monitor shoe condition throughout 2026 and beyond. By methodically applying the cushioning, traction, and stability protocols outlined above, you gain actionable insights that protect your feet and enhance training consistency. Track your results diligently, combine findings with real-run feedback, and rotate gear thoughtfully to maximize both performance and longevity.

No comments yet. Be the first!